使用 Gin 框架實作登入功能
前言
最近又要開始接觸到網頁的東西了! 久沒有碰要再花一點時間回想。想說就趁著這次順手記錄起來吧。
主要內容
寫在前面
本篇我們會透過 gin 框架建立 API 伺服器。一開始會先建立一個測試用的 API,接著在試著提供網頁服務後;我們會開始建立登入功能所需的 API login 以及 auth。
- login 會檢查登入所使用的帳戶密碼,在驗證正確後會給予 Token 於 Cookie 中。
- auth 會檢查 Cookie 是否有合法的 Token 。
由於本篇主要是專注在網頁後端「如何使用 gin 框架」,所以有關 HTML、 JavaScript 、CSS 並不會著墨太多。
建立專案
1go mod init github.com/e61983/test-gin-login
2go get -u github.com/gin-gonic/gin
起手式
建立測試用的 API - ping
 1cat << EOF > main.go
 2package main
 3
 4import (
 5	"net/http"
 6
 7	"github.com/gin-gonic/gin"
 8)
 9
10func main() {
11	r := gin.Default()
12	r.GET("/ping", func(c *gin.Context) {
13		c.JSON(http.StatusOK, gin.H{
14			"message": "pong",
15		})
16	})
17	r.Run()
18}
19EOF
現在讓我們先跑起來看看!
1go run main.go
並在另一個終端機上試著存取我們建立的 API ping
1curl -X GET http://localhost:8080/ping
2
3# Output:
4{"message":"pong"}%
提供網頁服務
簡單的建立測試用的頁面。
 1mkdir -p webroot
 2cat << EOF > webroot/index.html
 3<!DOCTYPE html>
 4<html lang="en">
 5<head>
 6    <meta charset="UTF-8">
 7    <meta http-equiv="X-UA-Compatible" content="IE=edge">
 8    <meta name="viewport" content="width=device-width, initial-scale=1.0">
 9    <title>Home Page</title>
10</head>
11<body>
12    <h1>Home Page</h1>
13</body>
14</html>
15EOF
接下來透過提供 LoadHTMLGlob() 載入文件夾中的靜態頁面。
1r.LoadHTMLGlob("webroot/*")
2r.GET("/", func(c *gin.Context) {
3	c.HTML(http.StatusOK, "index.html", gin.H{})
4})
重新運行後,使用瀏覽器觀看執行結果
我們的第一個畫面
登入 ( Login ) API
在使用 gin 的綁定 (binding) 功能時,我們要在想要綁定的欄位後面,依照想要綁定的方法加上 Struct Tags。
之我們就可以使用 gin.Bind() 或是 gin.ShouldBind() 來取得網頁前端所傳輸的資料。
本篇是用直接比對帳號密碼的方式實作,同學在實務上不要這樣學喔!
在檢驗完之後,將 Token 記錄於 Cookie 。
不過,目前常見驗證是採 JWT 的驗證方式,所以同學也自己來試著改寫看看。
 1type User struct {
 2	Account  string `json:"account" form:"account"`
 3	Password string `json:"password" form:"password"`
 4}
 5
 6r.POST("/login", func(c *gin.Context) {
 7	/* 綁定資料 */
 8	u := &User{}
 9	if c.ShouldBind(&u) != nil {
10		c.JSON(http.StatusOK, gin.H{"err": 1})
11		return
12	}
13	/* 檢查帳號密碼 */
14	if u.Account != TEST_ACCOUNT || u.Password != TEST_PASSWORD {
15		c.JSON(http.StatusOK, gin.H{"err": 2})
16		return
17	}
18	/* 將 Token 記錄於 Cookie 中 */
19	c.SetCookie(TOKEN_KEY, TEST_TOKEN, 3600, "/", HOST, false, false)
20	c.JSON(http.StatusOK, gin.H{})
21})
驗證 ( Auth ) API
我們可以從瀏覽器發送的請求中取出我們先前記錄於 Cookie 的 Token 。 並且比對它是否合法。
 1r.POST("/auth", func(c *gin.Context) {
 2	/* 從 Cookie 取出 Token */
 3	if token, err := c.Cookie(TOKEN_KEY); err != nil {
 4		if TEST_TOKEN != token {
 5			c.JSON(http.StatusOK, gin.H{"err": 2})
 6			return
 7		}
 8	}
 9	c.JSON(http.StatusOK, gin.H{"err": nil})
10})
建立登入表單與登入後顯示畫面
建立登入頁面。
 1cat << EOF > webroot/login.html
 2<!DOCTYPE html>
 3<html lang="en">
 4<head>
 5    <meta charset="UTF-8">
 6    <meta http-equiv="X-UA-Compatible" content="IE=edge">
 7    <meta name="viewport" content="width=device-width, initial-scale=1.0">
 8    <link rel="stylesheet" href="assets/core.css">
 9    <title>Login Page</title>
10</head>
11<body>
12    <h1>Login Page</h1>
13    <div class="container">
14        <form>
15            <div class="input-wrapper">
16                <div class="title">Login</div>
17                <div class="label" for="account">Account:</div>
18                <input type="text" id="account" name="account" value="tester" />
19                <div class="label" for="password">Password:</div>
20                <input type="password" id="password" name="password" value="test123" />
21                <button id="btn" type="button"> Submit </button>
22            </div>
23        </form>
24    </div>
25    <script type="module" >
26        import {getData, postData, getCookie, deleteCookie} from '/javascript/core.js';
27        function login() {
28            let account = document.getElementById("account").value;
29            let password = document.getElementById("password").value;
30            postData("http://localhost:8080/login",
31                {"account": account, "password": password})
32                .then(data=>{
33                    console.log(data.err)
34                    if (data.err !== null){
35                        window.location.replace("/")
36                    }else{
37                        window.location.replace("/admin/")
38                    }
39                });
40        }
41        function check(token) {
42            postData("http://localhost:8080/auth", {"token": token})
43                .then(data=>{
44                    if (data.err === null){
45                        window.location.replace("/admin/")
46                    }
47                });
48        }
49        check(getCookie("token"))
50        window.onload = function(){
51            document.getElementById("btn").addEventListener("click", login);
52        }
53    </script>
54</body>
55</html>
56EOF
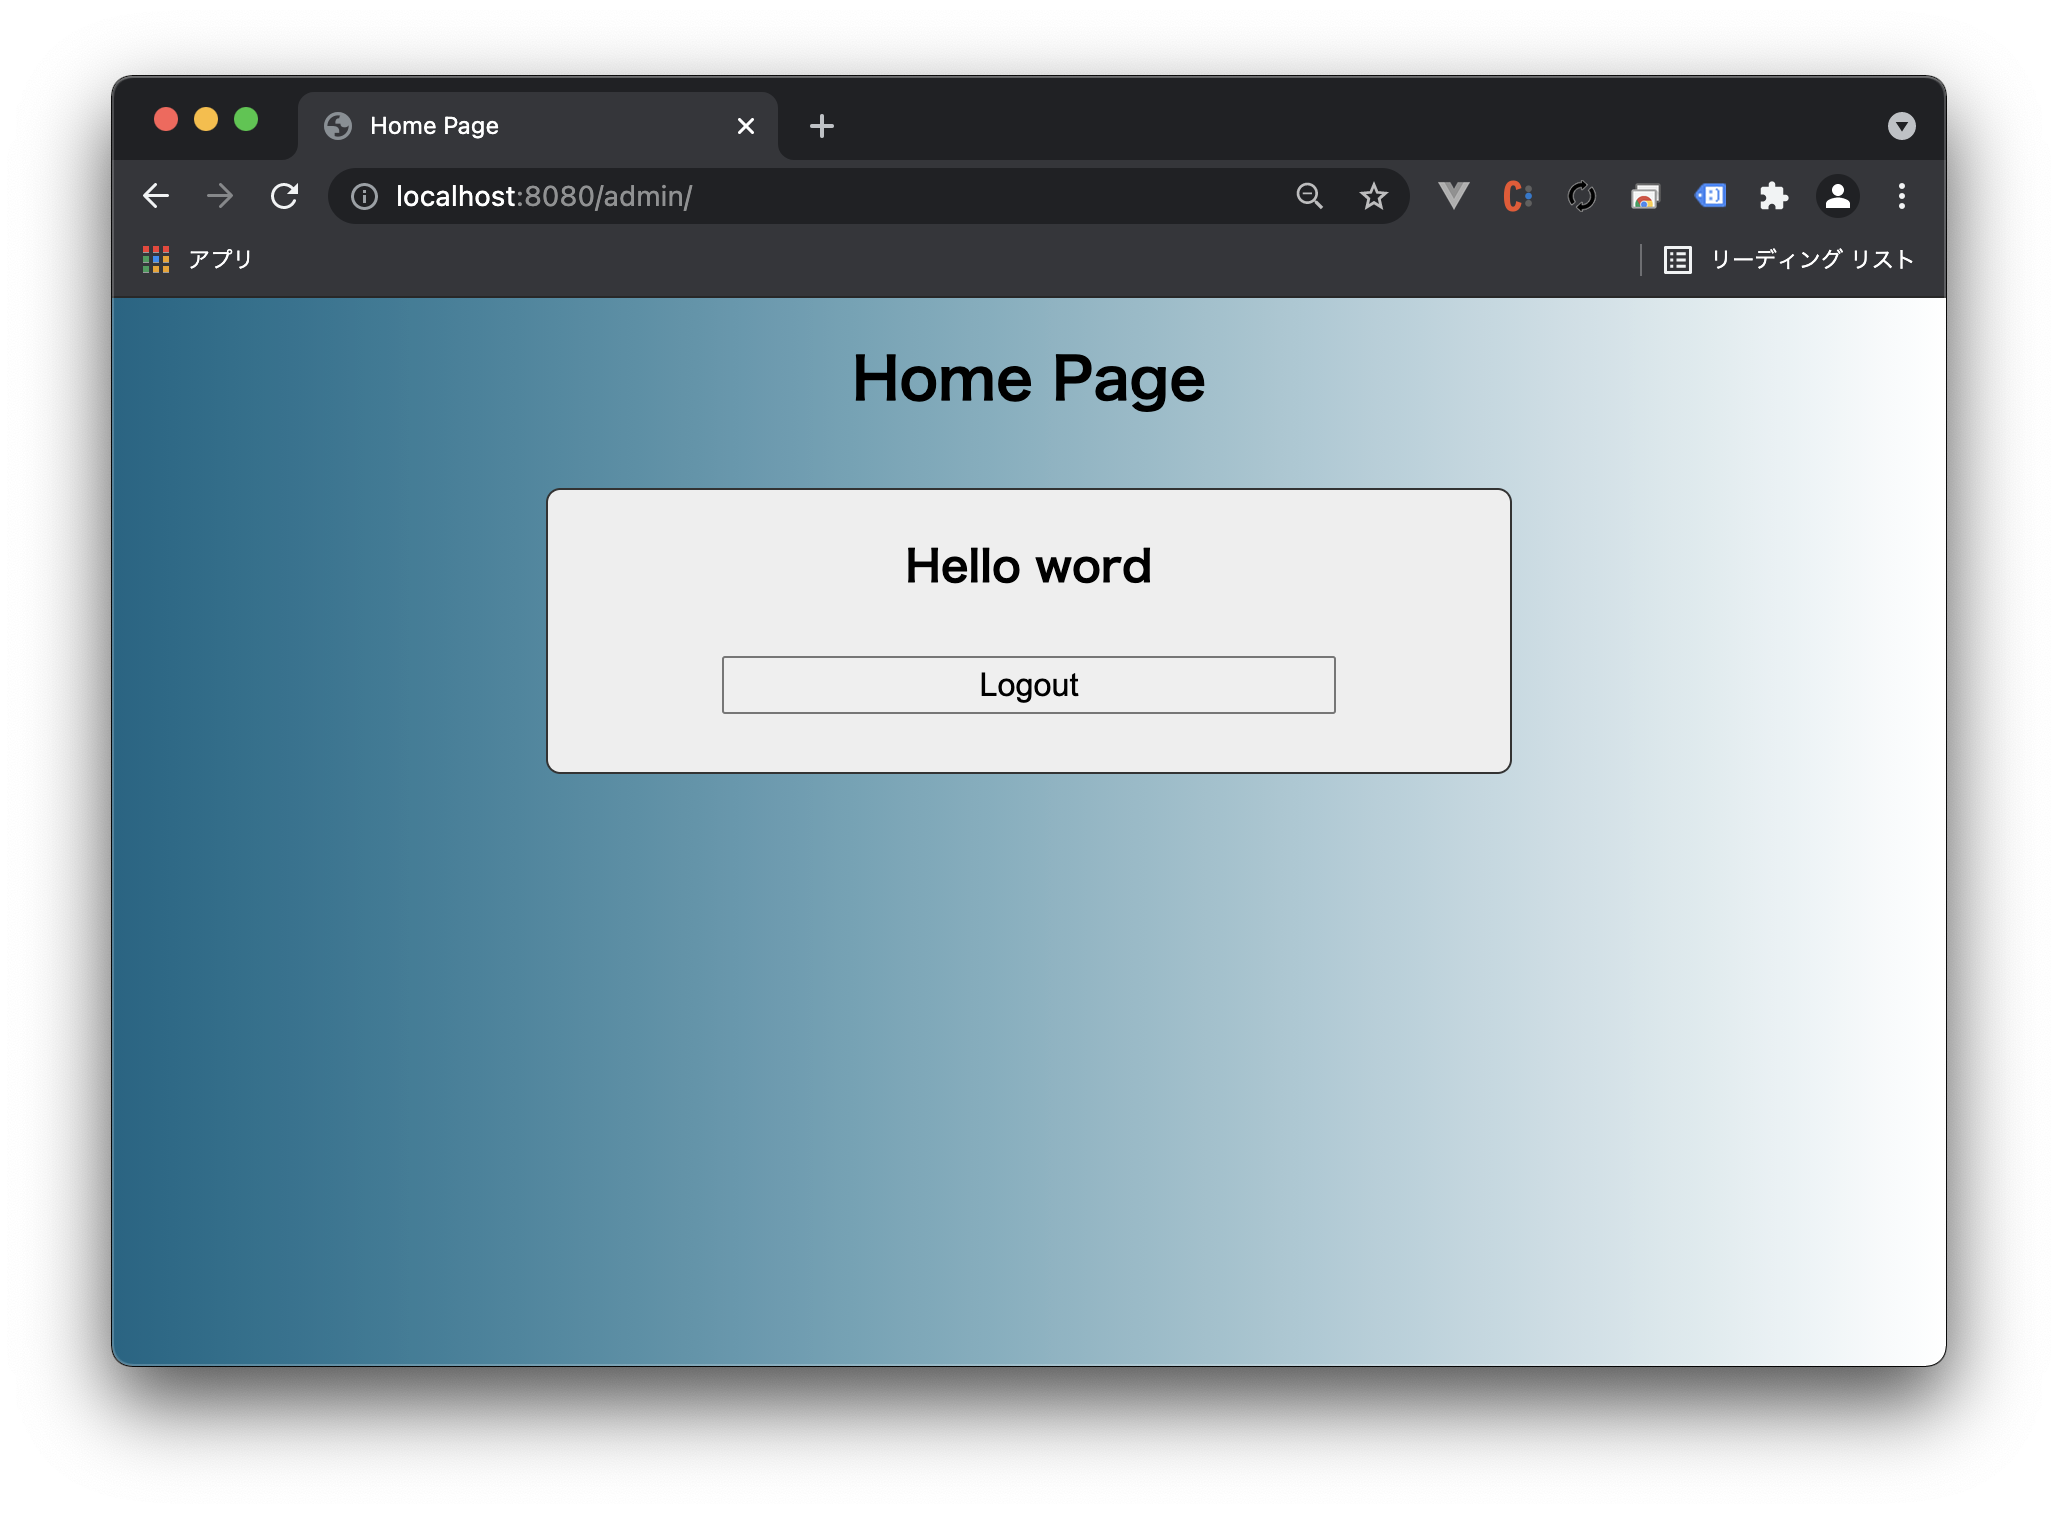
改寫歡迎畫面
 1cat << EOF > webroot/index.html
 2<!DOCTYPE html>
 3<html lang="en">
 4<head>
 5    <meta charset="UTF-8">
 6    <meta http-equiv="X-UA-Compatible" content="IE=edge">
 7    <meta name="viewport" content="width=device-width, initial-scale=1.0">
 8    <link rel="stylesheet" href="/assets/core.css">
 9    <title>Home Page</title>
10</head>
11<body>
12    <h1>Home Page</h1>
13    <div class="container">
14        <div class="input-wrapper">
15            <div class="title">Hello word</div>
16            <button id="btn" type="button"> Logout </button>
17        </div>
18    </div>
19    <script type="module" >
20        import {getData, postData, getCookie, deleteCookie} from '/javascript/core.js';
21
22        function logout() {
23            deleteCookie("token", "/", "localhost")
24            window.location.replace("/")
25        }
26        window.onload = function(){
27            document.getElementById("btn").addEventListener('click', logout);
28        }
29    </script>
30</body>
31</html>
32EOF
畫存取清界線
我們前面建立了將要顯示的頁面,現在我們要來設定存取的路徑。
 1/* 登入頁面 */
 2r.GET("/", func(c *gin.Context) {
 3	c.HTML(http.StatusOK, "login.html", nil)
 4})
 5
 6/* 需要登入才能存取的頁面 */
 7admin := r.Group("/admin")
 8admin.GET("/", func(c *gin.Context) {
 9	if currentUser, ok := c.Get("User"); ok {
10		log.Printf("User [ %s ] Accessed", currentUser)
11	}
12	c.HTML(http.StatusOK, "index.html", nil)
13})
建立中間層
雖然我們已經建立了 /login 與 /admin/ 這 2 個路徑,但如果我們直接在劉覽器中輸入 http://localhost:8080/admin/。會發現還是可以存取的。
為了避免這樣的事情發生,我們可以建立中間層來檢查是否已登入。
如果發現尚未登入的存取請求,我們就將其轉至登入畫面。
 1func AuthMiddleware() gin.HandlerFunc {
 2	return func(c *gin.Context) {
 3		cookieToken, err := c.Cookie(TOKEN_KEY)
 4		if err != nil && cookieToken != TEST_TOKEN {
 5			c.Redirect(http.StatusTemporaryRedirect, BASEURL)
 6			c.AbortWithStatus(http.StatusTemporaryRedirect)
 7			return
 8		} else {
 9			c.Set("User", TEST_ACCOUNT)
10			c.Next()
11		}
12	}
13}
使用中間層
在我們建立好的 admin 路由群組中,使用我們建立好的中間層。如此一來,要存取此路由群組的請求就會檢查是否已登入了。
1admin.Use(AuthMiddleware())
登入表單 登入後歡迎畫面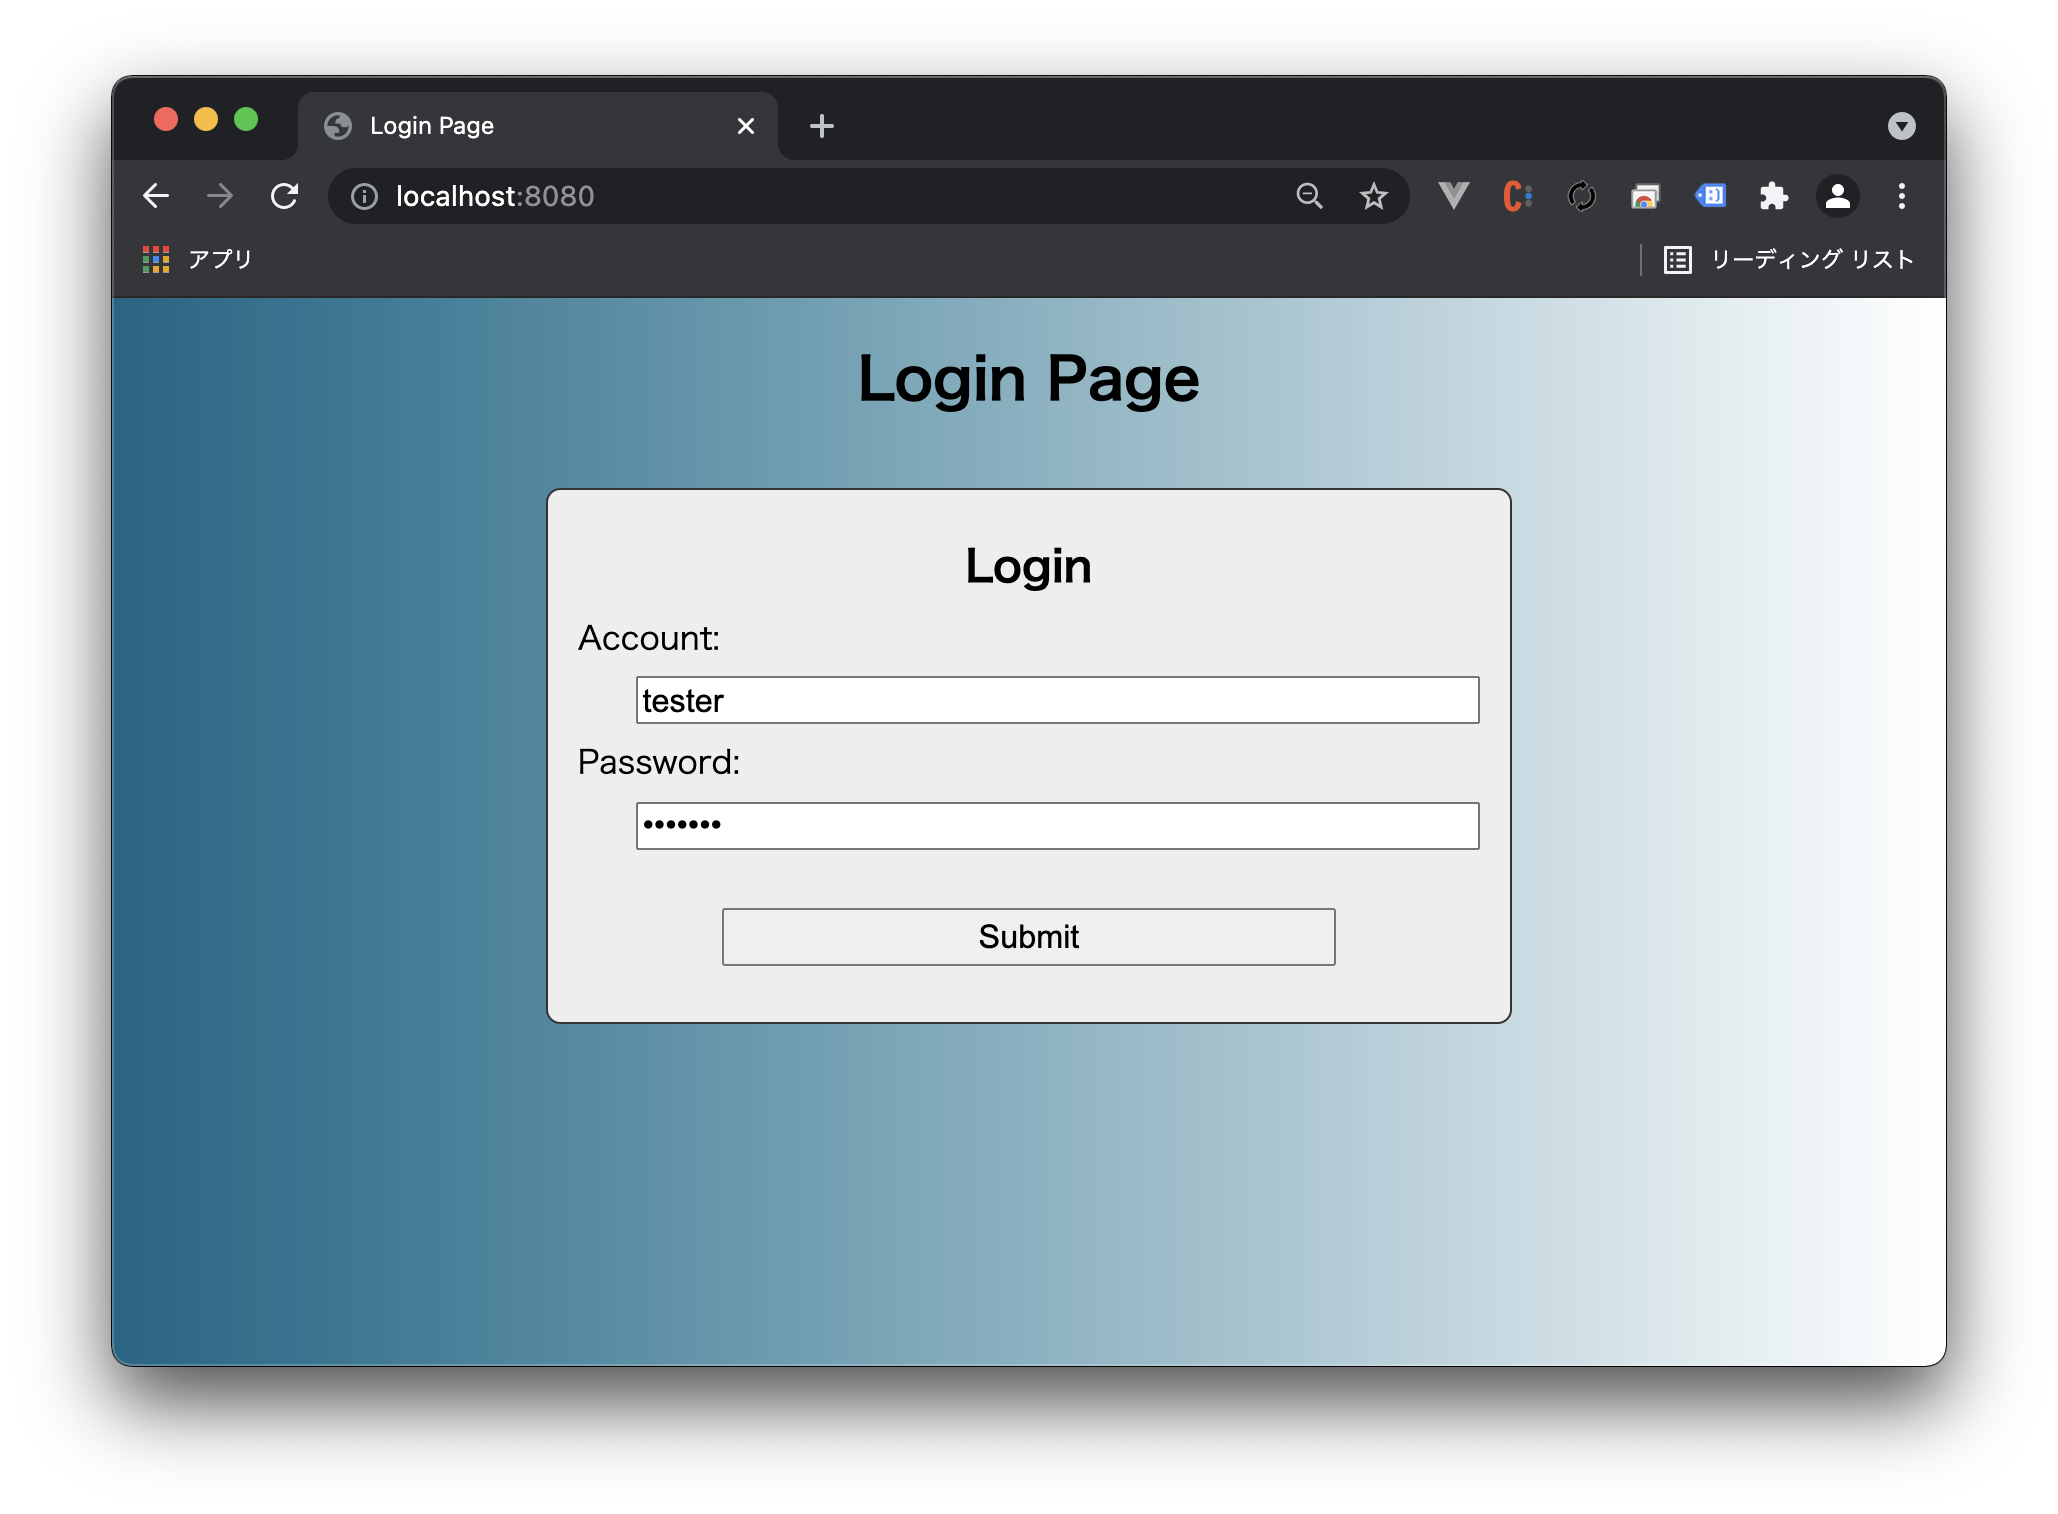
小結
本篇省略了很多實作上的細節,對被省略的部份有興趣的同學可以參考這裡。